While the body was brewing in the remover, I decided to.............
What's this!? What's this!? Just what is going on here!?
Well, what can I say? That coupler pocket issue was bothering me. And when I shortened the the deck, I was in a hurry and didn't do the best job of squaring all the cuts. Also, the super glue cured almost instantly (and I was using a slow-cure, thick glue) leaving some mismatched joints. In the end I decided to break it all apart and start over. Removing the tread plate was the hardest part. After breaking all the other joints, I laid a piece of 150 grit sandpaper on the bench and sanded all the flat surfaces smooth. Then I removed enough of the front (the pointed parts) vertically to square it up, about 1/16th". I eventually clipped those points off.

On the rear, I moved the 1/4" overhang so it was between the kit parts. This eliminated any problem locating the coupler. At the top you can see how I used styrene strip on the inside to strengthen the joints. (Did this on the front, too.)

Again I used some styrene channel to reinforce the joint and hide a jagged seam.

Now you can see why there's a cut-out in the extension piece. The kit's plastic motor clip was broken, so I had to make a replacement.

Damn, I had hoped to re-use the tread plate I removed. Oh well.

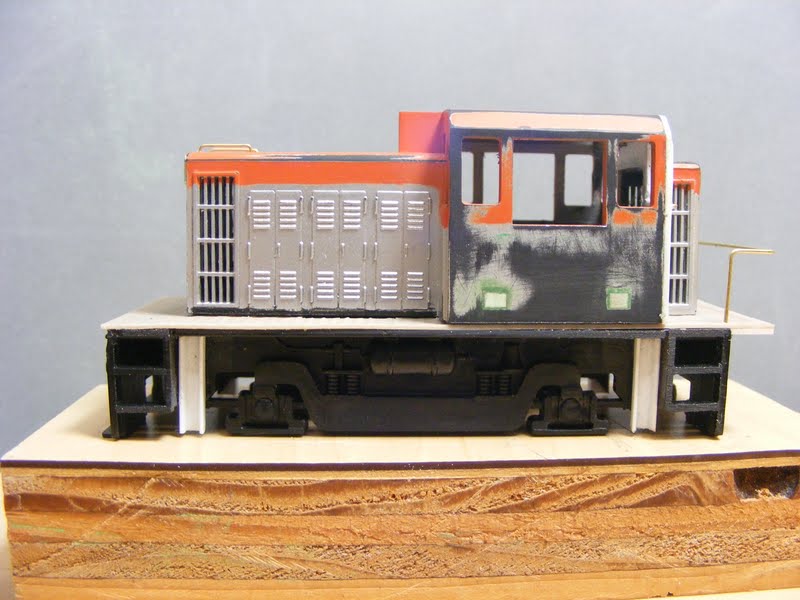
Two up to the minute shots.


That's all for now. I welcome any questions or comments. Don
No comments:
Post a Comment