Holy Crap, Batman, has it really been 14 months?! When I posted Part 11, I never intended to take this long to wrap it up. There are several contributing factors, not the least of which is I've always been a 95%er in most of my endeavors. I maintain a high level of enthusiasm through most of a project, then find it hard to stay motivated that last 5%. (Maybe I need to see a shrink.) I was also a little burnt out, not only by the length of this project in particular, but by model railroading in general. (Sadly, an all too common malady with mrr's.) And it wasn't like I stopped modelling entirely. If you check out my HobbyDr's Game Table blog, I spent quite some time with my Mile Fort, Sci-Fi Bunker, and Battering Ram. And I actually
did do some railroad modelling I didn't document at the time. (I will correct that presently.)
So, what say we wrap this puppy up!
Here we are back in January of 2012. I wanted to make a nice sturdy base that would allow me to expand the parking lot and railroad access around the building. I made it out of some white wall panelling (plain side up), and some one-bys I ripped from some 2x6 southern yellow pine (several years old, and
very stable). The top was glued, then stapled to the frame. The pneumatic staples tend to
pucker the panelling, and you can see where I had to sand everything flush.
Here is the cardboard template I pieced together so I could cut the parking lot out of a single piece of styrene. (It eventually took two, but only one joint is pretty good.)
Yeah, Artz Partz, in honor of my inspiration, Art Curren. I made these two decals with Print Shop. This first one is a more modern design on the new addition of the factory..........
.............while this faded, old-style sign was
'painted' on the original part of the building. "Widgets, Whatsis, and Geejaws." (Their product line adapted to the changing times.)
Which brings us to today, with the parking lot
paved, complete with oil stains.
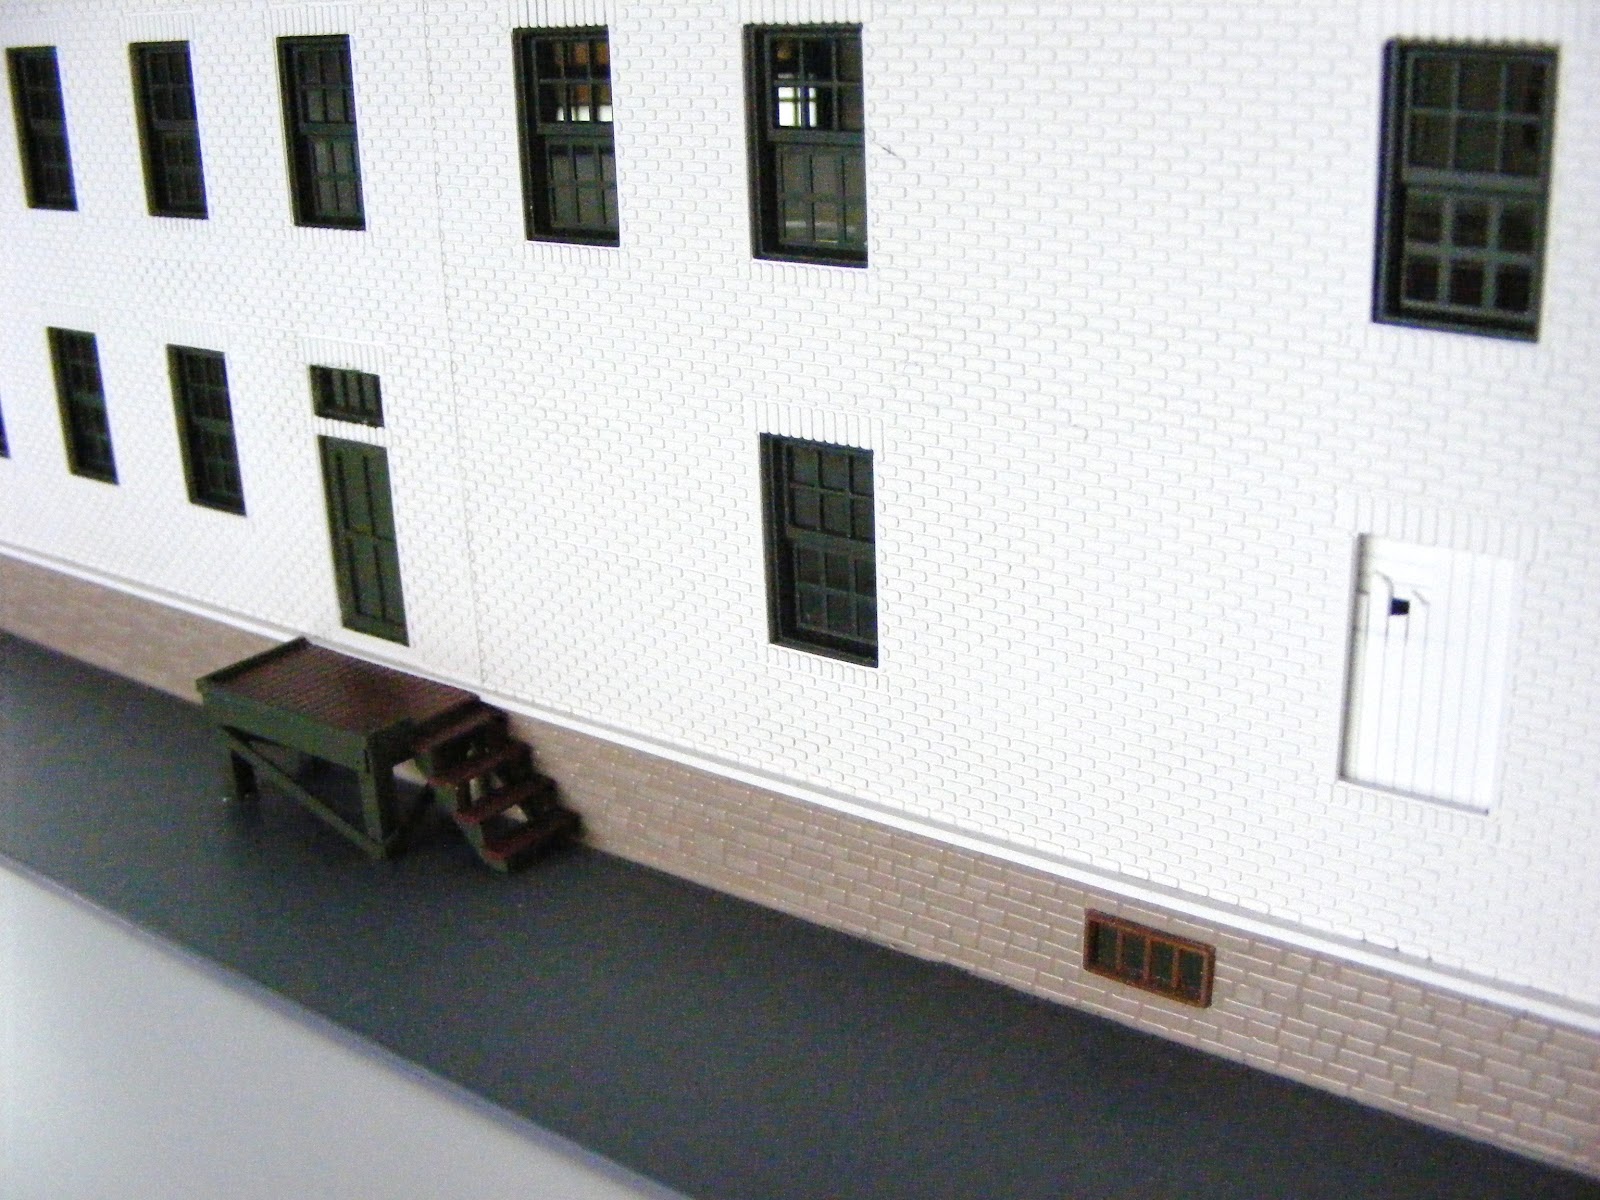
A walk around the building.
A closeup of some wooden pallets, heavily distressed with a wire wheel in a Dremel.
End of the line, or at least the siding.
I'm a little disappointed with the quality of these pictures. I took them with the factory sitting on a large sheet of styrene, and all the white may have fooled my camera, which has always taken great shots. I will try to take more, if time allows.
Well, that's it for this project. I really wanted to put on more decals ("Office, Parking, Shipping, Receiving, etc") but I am kind of under the gun. I don't know where this model will be in a month, because I don't know where I will be in a month. Artz Partz could well end up in a dumpster. For that reason, I will not be starting any new projects, and doubt I will be able to finish the uncompleted ones. I will, however, try to post all the progress I have completed up to this point. Don