
Transfer that measurement to the lead in two places along a straight edge.

Connect the dots with a scriber, then follow up with the knife. (I scribe first to keep the blade from wandering off the cut line.) Yeah, the blade dulls quickly, but it's worth it.

The weights super-glued in place. The one in the middle needed to be thinner than the thickness it comes in, so I cut a piece under-sized for the space, then hammered it thinner. You can see the hammer marks in the picture.

Now back to the cabin. I did a pretty good job of smoothing the top out. One more round of putty and sanding, and it would be perfect.

However, the more I looked at it and thought about it made me want to eliminate the cupola. I wanted a simpler, cleaner outline.

So, I needed a plug. Well, the roof of the cupola was almost a perfect fit, so off it came.

The hole had to be enlarged to allow a rough fit.

A little putty and some sanding and the roof was nice and smooth. You may have noticed in these last two pictures a change in color. Up to this point I had hoped to salvage some of the kit's original paint scheme. A fool's hope I finally realized, and stripped it all off.

I pre-curved a sheet of .020 styrene and glued it to the top. It over-hung the ends by 1/16th" and the sides by 1/32nd".

Time for couplers. These are Kadee #158 scale-size Whisker couplers. I like not having to mess with the separate metal centering-spring of the old #5s.

For the coupler to fit forward enough meant the kit's coupler pocket had to be altered.

A little work with the razor saw and file left this.

The molded-on coupler box also had to be removed.

I like to make my couplers removable by screwing them on, and usually you can tighten them enough to get a nice fit. The problem I faced here was I was screwing into lead---too tight and you'll strip the threads. Too loose and the coupler box will swing out of position in use.

The solution was these two styrene strips. They keep the coupler box secure with just enough torque on the screw to snug it up.

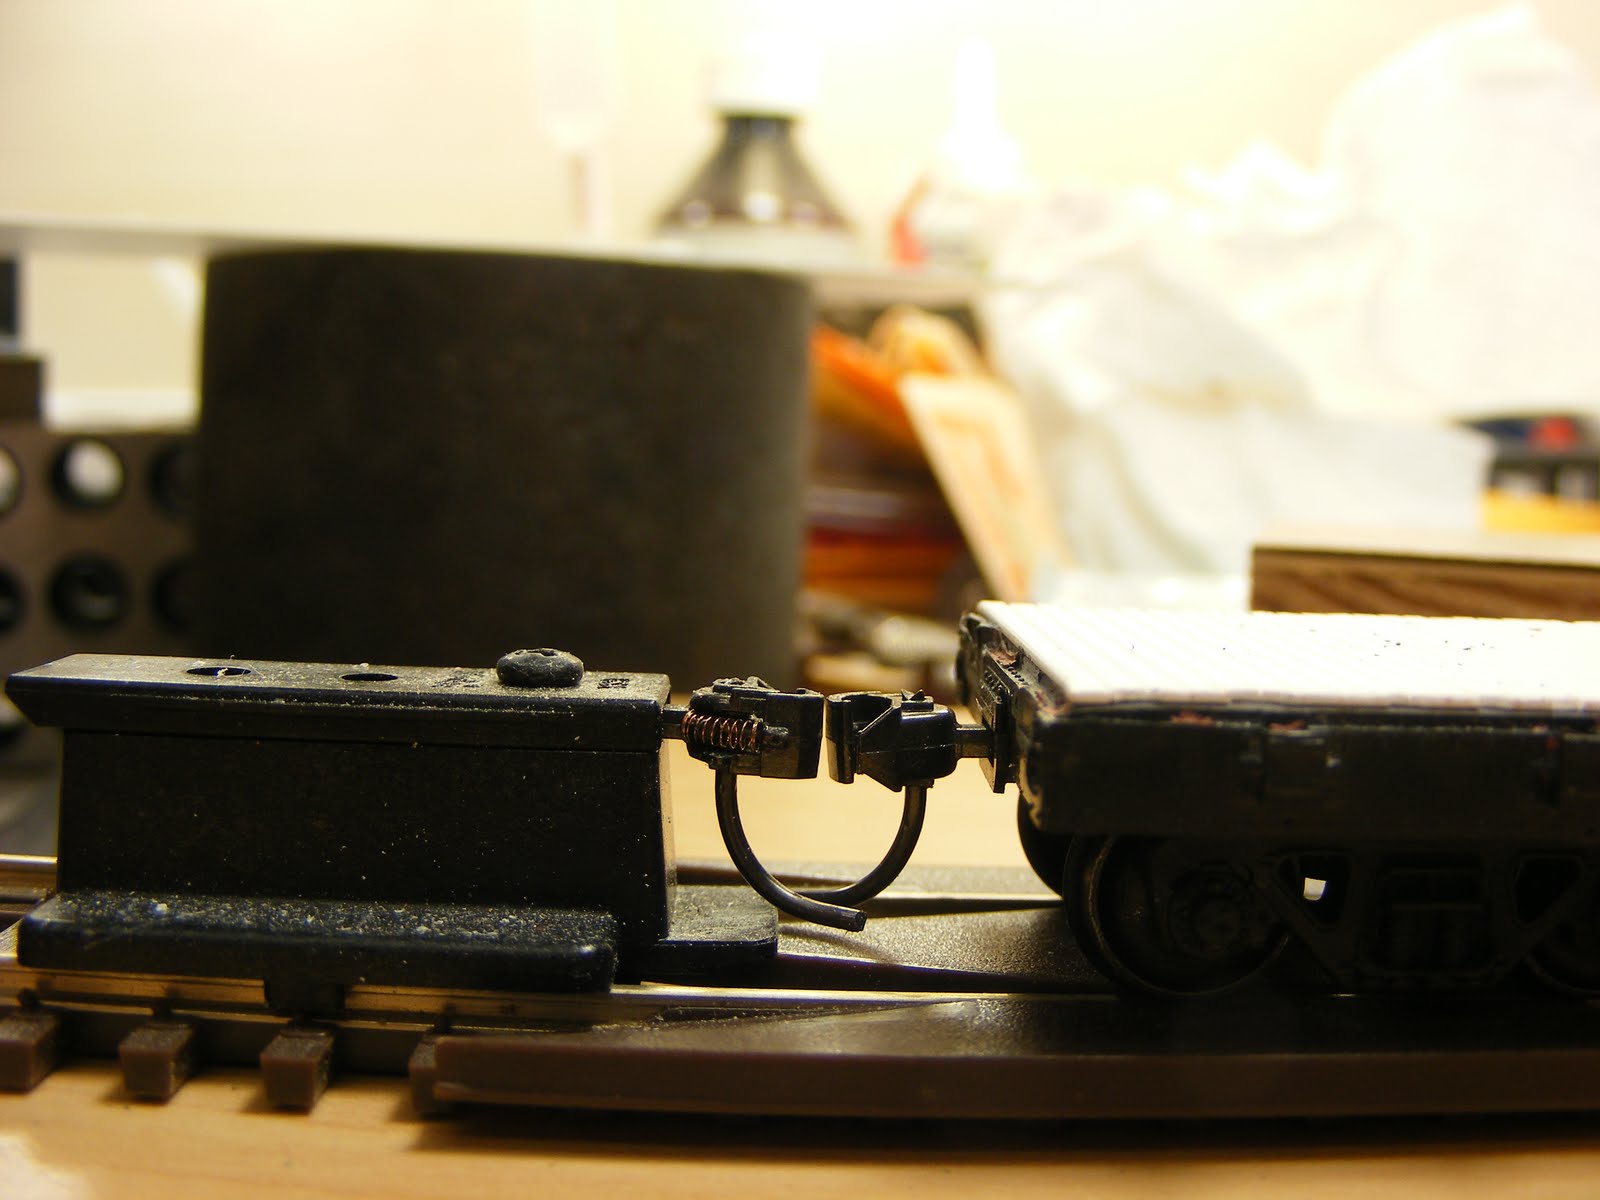
The couplers were installed, but would they couple properly? Time to grab the Height Gauge. Wow, this end was way off. (I had to do some pretty aggressive filing on the bottom of the bolsters to get them to fit with the new weights. Maybe a little too aggressive.)

The other end was a better story, but still not perfect.
If you are new to coupler installation, one thing you absolutely need are these paper washers from Kadee. The red ones are .015" thick and the gray are .010" thick. You can also spend $15 for an actual 'Trip Pin Pliers,' or about $5 for this 'Jewelry Making Plier' available at Michael's Arts and Crafts.

This was the end that was way off. Let's try two red washers first.

Better but not perfect. It took the addition of a gray washer, plus some finagling with the pliers to make this end perfect.


Moving on, I added these pre-formed brass stirrups. The dividers are useful here too, allowing me to accurately position and space the center-points for drilling. A little Zap-a-gap and these guys aren't going anywhere.

The final step of the night was adding these pre-formed brass steps.

Well, it seems this project is going to have at least three parts. Next up, grab irons and railings. See you then. Don
This is turning from a kitbash into a full out scratch build! :)
ReplyDelete