
It took some gentle sanding to get this fragile part, but the curve perfectly matched the roof while the top was flat.

I cut, trimmed, and re-glued it into these 'J'-shaped
pieces. They are connected by two strips of .060 square styrene, while a third goes down the center line.

The same .020 'V'-groove styrene with .060 spacing used for the deck was used here.

Now I needed two identical handrails, and took the time to make a jig to accomplish that. The first attempt was too long, so I altered the jig to shorten it. Getting nice, crisp 90° bends also proved difficult. After a half hour I said "forget it" and grabbed a pair of loop-making pliers. A couple of minutes eye-balling it, and the first one was done.


Another minute with the pliers, and the second railing appeared. And if you check out these two shots, I think you'll agree they are pretty close.
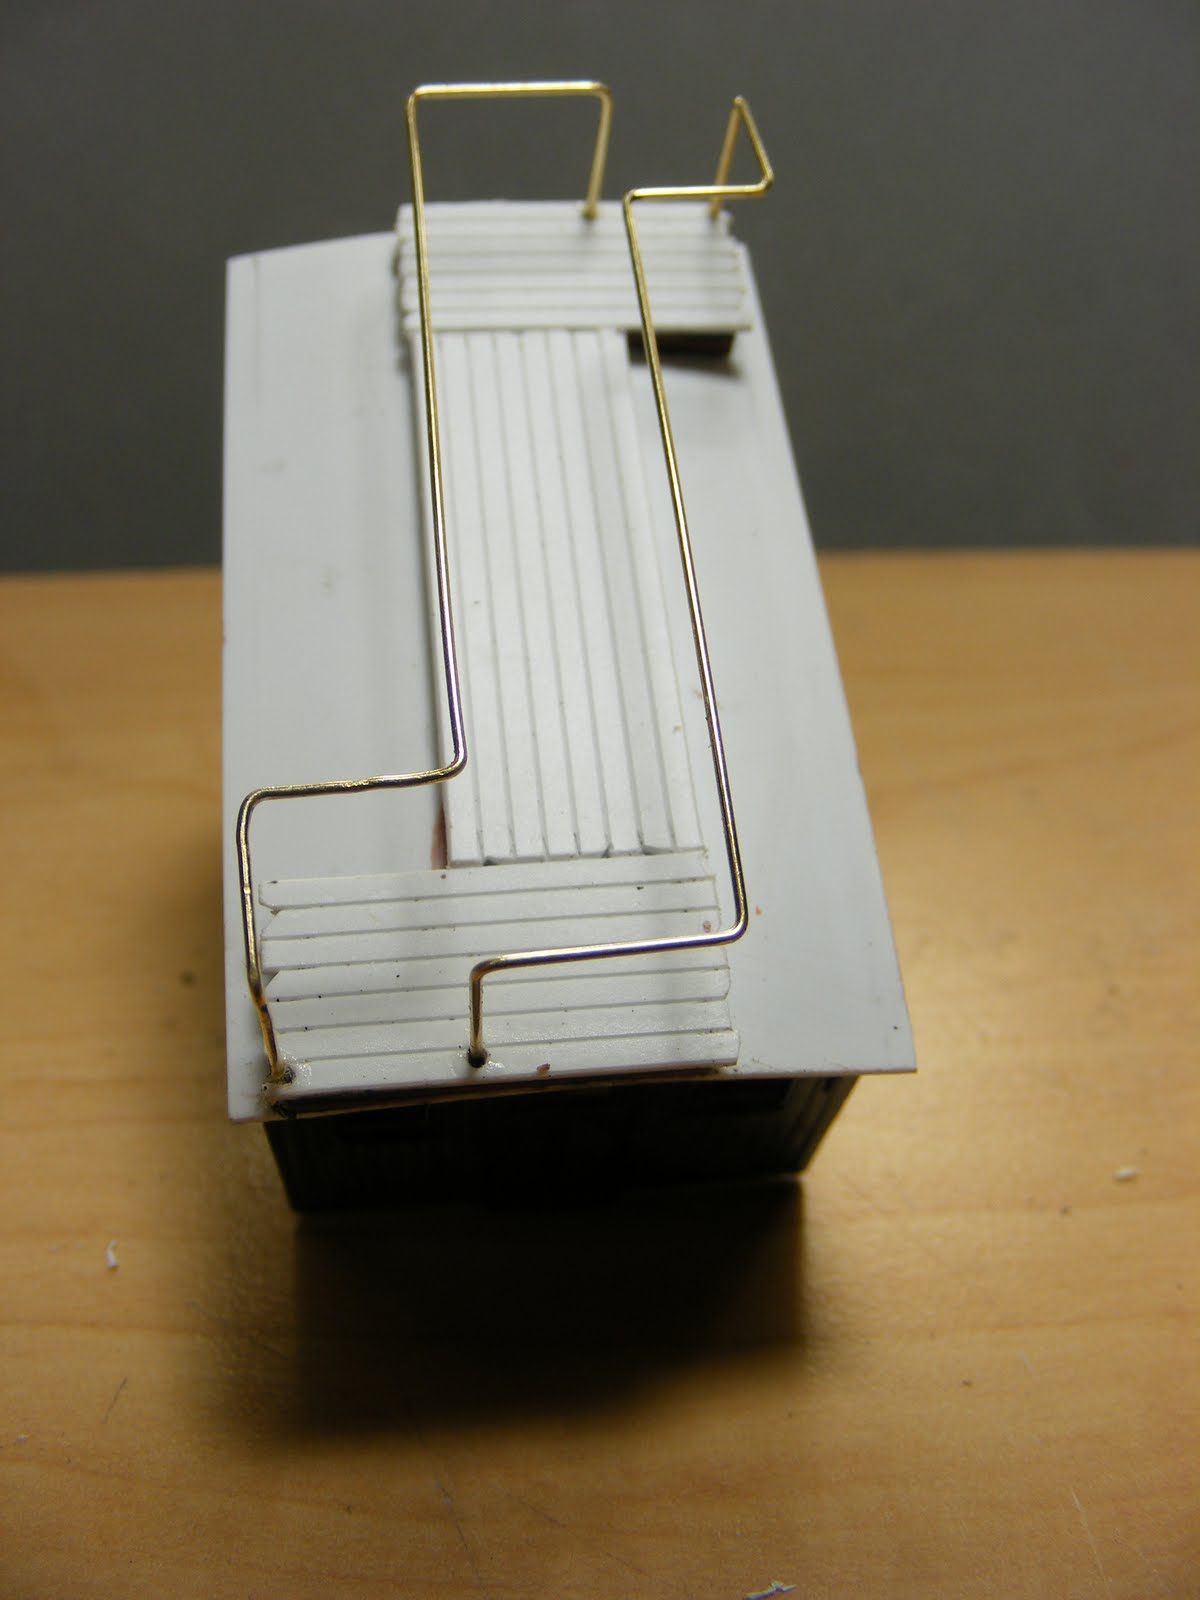

Three uprights on each railing finish them off.


The finished railing.........

..........and installed.

The brake housing I so carefully undercut in Pt.1 snapped off during construction, and since I thought it looked rather bulky anyway, replaced it with this. I also replaced the kit's brake wheel with a more delicate one.

Now came the side railings. At first I tried to glue in a lower rail like on the ends, but I couldn't keep them attached. A centered upright was much sturdier, and to me looked better anyway. Sitting here now, two days later, maybe my super glue was too old to maintain an unsupported bond. (That's why I only buy the ½ oz size. I'm about two-thirds of the way through this bottle, and the humidity has compromised its strength. I used to throw out mostly-full 2 oz bottles.) In any case, I won't change these railings, and will probably solder any future ones.

Two 'metal' ladders from Central Valley's Stairs and Ladders package allow access to the roof.

Another salvaged channel and a loop of chain adds some interest to this side of the caboose. Looking at this picture, I'm just not satisfied with the brake wheel housing. May have to do something about it.

Two smokestacks added to the roof. They are made of Evergreen tubing, further drilled out to give a very thin sidewall.

Everything in its place. I think it's getting close to painting time. I'm leaning towards a greenish-yellow for the main components. Now, will a gray primer work best under that, or white?

In the home stretch, and I'm looking forward to getting this caboose done. I've really enjoyed doing it and have learned a lot in the process. I hope you've enjoyed it too. As always, questions and comments welcome. Don
No comments:
Post a Comment