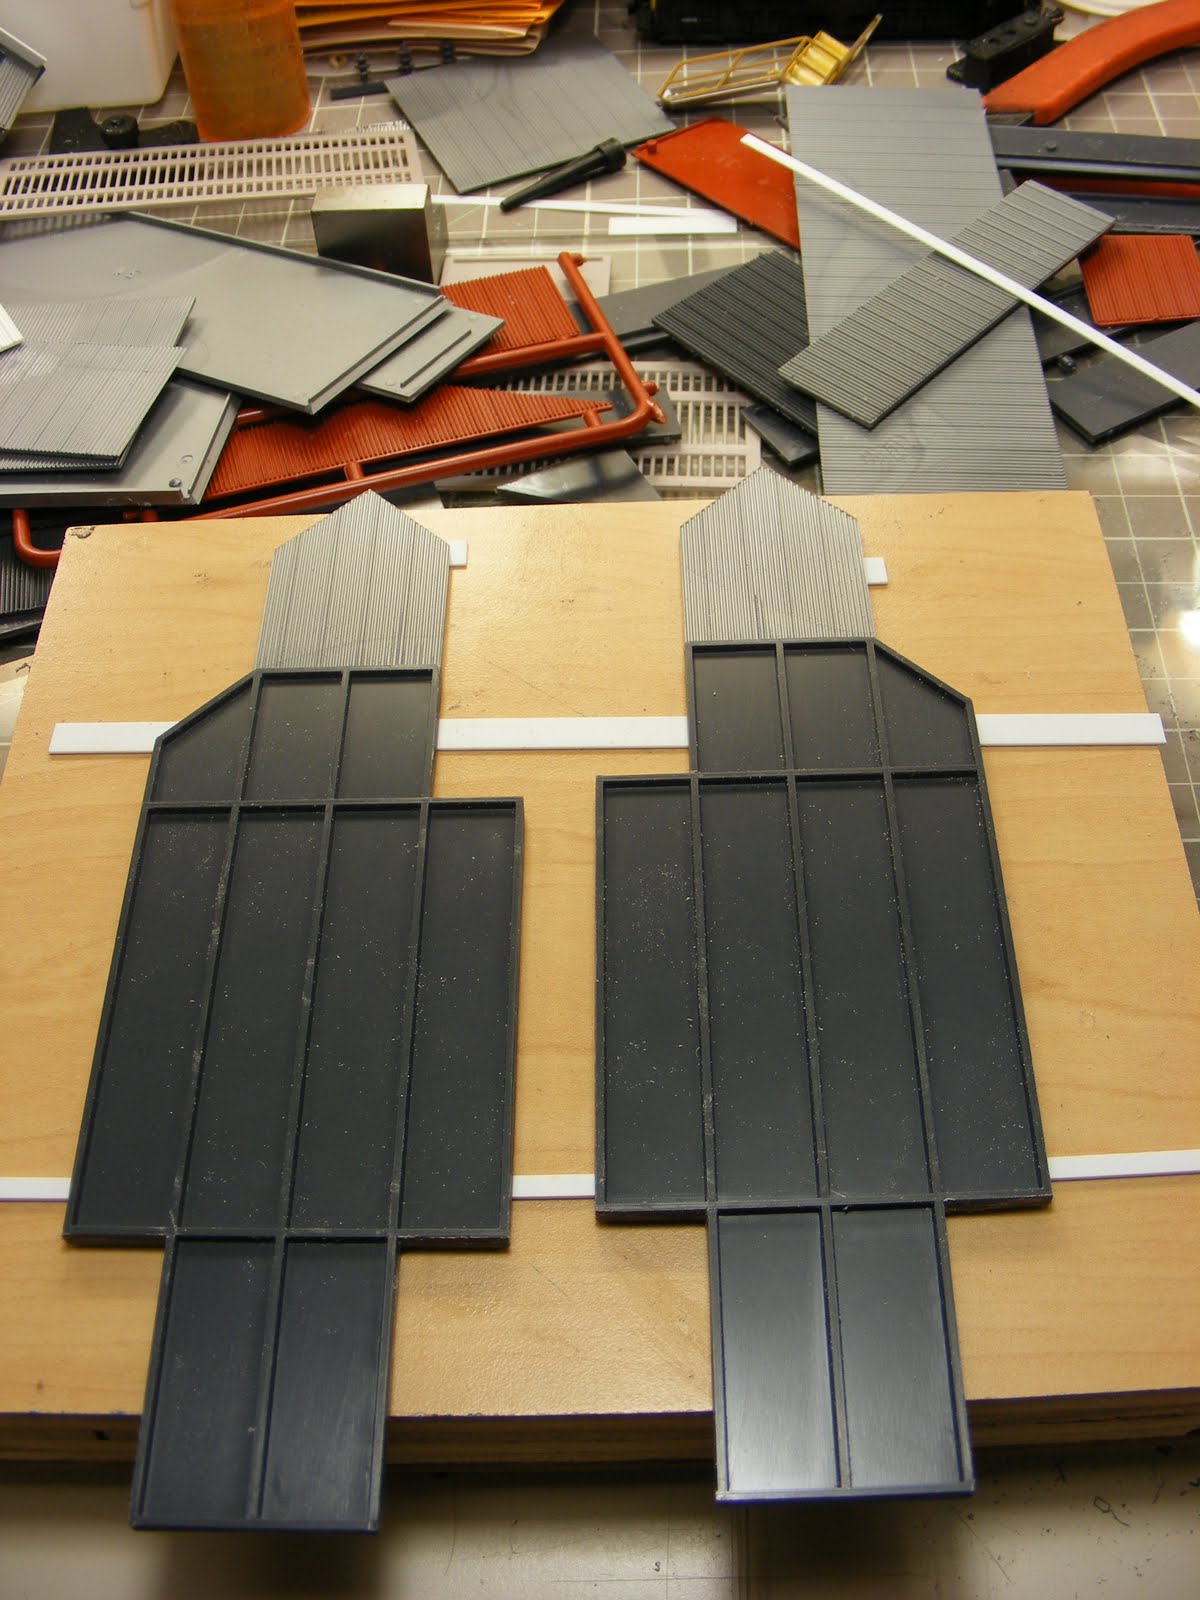
The piece on the left is the un-altered one. Pretty big, huh? I didn't need it or want it to be that massive, all it really does is change the conveyor's direction. On the right is the slimmed-down version, which I hope will be a little more distinctive. One thing to be aware of, this is just the top portion of the Transfer House. It will be supported by a framework of H-beams to the same height as the Crusher, with possibly a storage room at the base. Notice that I removed the top, pointed section , and let me tell you why. It is molded to resemble corrugated siding, and it has a distinctive pattern. The problem is I don't have enough big pieces of that pattern to complete the project. I do have enough big pieces left over from Walthers' New River Mine kit to complete the project, so to be consistant, the tops came off. Now I know you're thinking, "Don, do you really think people would have noticed the difference?," and the answer is, "Probably not." But my thinking is, Hey, I've got this anus, why not be anal once in a while? Go ahead, argue that logic.

Here I took the cut-off and used it to scribe the pattern in scraps from the mine kit. The razor saw made short work of cutting them out.

Here they are attached back on top. Just a note to anyone who might be doing something similar. If the opposing sides are irregular, don't forget to make them mirror images of each other.
I cut the walls to the correct size, then used a piece from the original kit to mark the openings for the conveyors. A new blade in the handle, a little patience, and I had some nice, clean holes in no time. (FYI, I like to use X-acto's Stainless Steel #11 blades. The fact they hold their edge and point much longer make them worth the extra cost.)

If you need to make repetitive cuts in styrene, you can't beat this jig. Here I didn't even need to use a ruler. As the cut pieces are the same width as the corrugated side, I simply dropped it in the jig and set it flush to it.

Slide the styrene under the bar, tighten it down, then scribe along side it. I've read some people scribe to the outside of the bar, but I scribe on the inside. Works for me, and as I said above, sometimes you don't have to measure.

After cutting them to width above, I cut them to length and wrapped the outsides with .060 x .060 strip. For the internal ribs I placed the assembly over the original piece, to get the proper spacing.

After trimming and sanding, I was left with this. I still have to cut the roof panels, and maybe a walkway. Hmmmmm..... if I had some miniature hinges, I could screw them on and simply fold this together.

That will have to wait for Part 2. Hope you enjoyed this. Don
No comments:
Post a Comment