
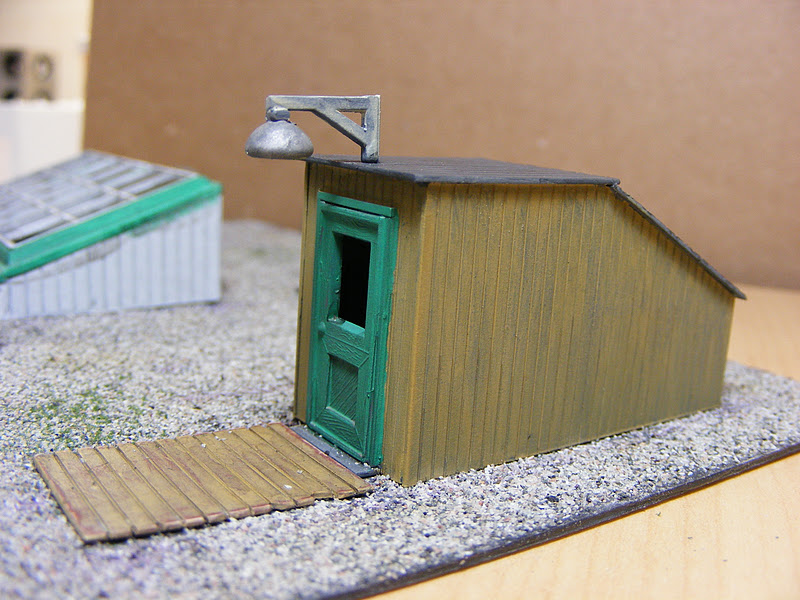
This is after two black washes to weather and age the roof details. I'm sure a few more will be in order when all the building's components are finally assembled.


Now let's move to the back wall, and confront my biggest nemesis..........glazing. Traditionally, I do not put 'glass' in my projects. I refer to myself as the Paneless Modeller. Not sure why, probably because I make a mess of it. However, I felt this project deserved the whole shootin' match. So I thought I'd try this new adhesive I got a while back. I'd like to say it is two-sided tape, but there's no tape here, only the adhesive. It was a little tricky to apply, but once I had a system figured out, it went pretty quickly. I took my clear plastic and drew two lines, the distance between them the same as the internal width of the window. I rolled the adhesive on to the outside of those lines, as you can see in the picture. Then I firmly pressed the windows down on the adhesive. (The really nice thing about this product is there is almost no thickness to it.) Once I was sure they were stuck, I sliced them all apart with my X-acto.

After that, they glued in nicely.

This is a smal flue pipe that comes through the upper left window. The bracket I made out of flat brass wire.


The small roof got gravel, too.

Here's an 'Oh, By the Way.' I imagine you have figured out by now that I like using plastic. The problem was, as my stock collection grew, I spent as much time looking for the needed piece as I did on the rest of the project. I ended up buying accordian file folders for all my dimensional stock 15" or less. All of the sheet goods under 12" are separated in the dividers. They take up one whole drawer in my legal-size file cabinet.

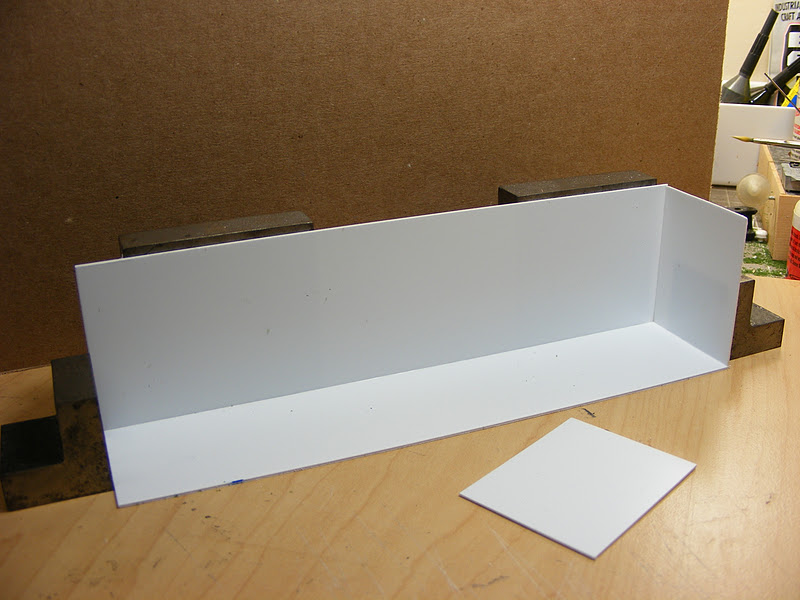
I wanted to put some kind of interior or view-block, so I made some simple styrene boxes to fit on the inside of the back wall. I'll see if I can find any photos I can place inside them.


This is the back wall after the first black wash. It'll take a few more. I did paint the inside of the upper left windows 'Antique White.' The view-blocks were being primed when I took this photo.

It's really coming together now. I guess the next thing I have to tackle is the stairway on the corrugated front. If you haave any questions or comments, please don't hesitate. Don
I like the roof Don. Very enjoyable and helpful blog as always. Keep up the good work. Jim
ReplyDeleteThanks Jim, I'm liking it more and more, as well. I appreciate your comments. Don
ReplyDelete